

It’s been awhile since I’ve shared a DIY or craft here. I guess I got all wrapped up in the food blogging but can you blame me? Food blogging results in a lot of delicious food!
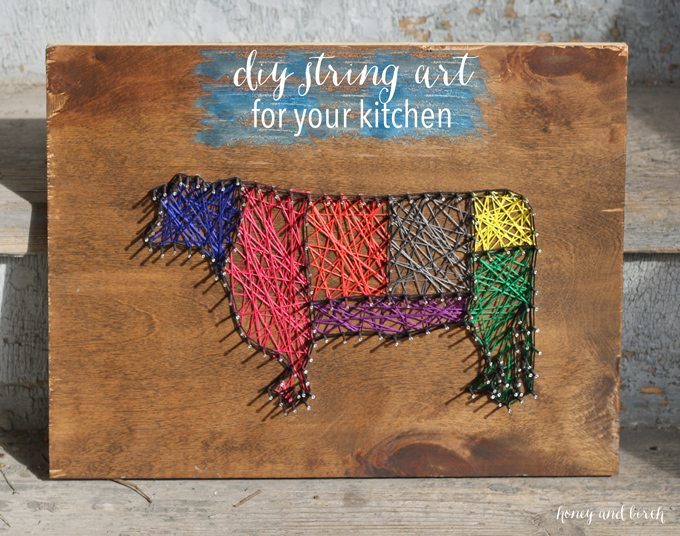
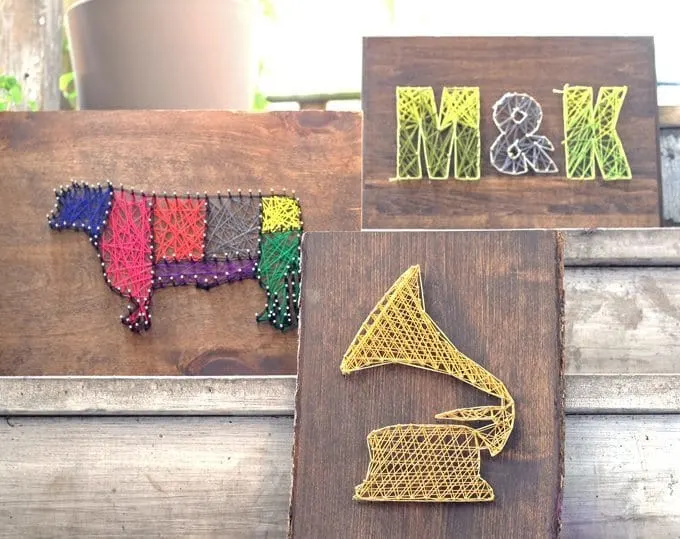
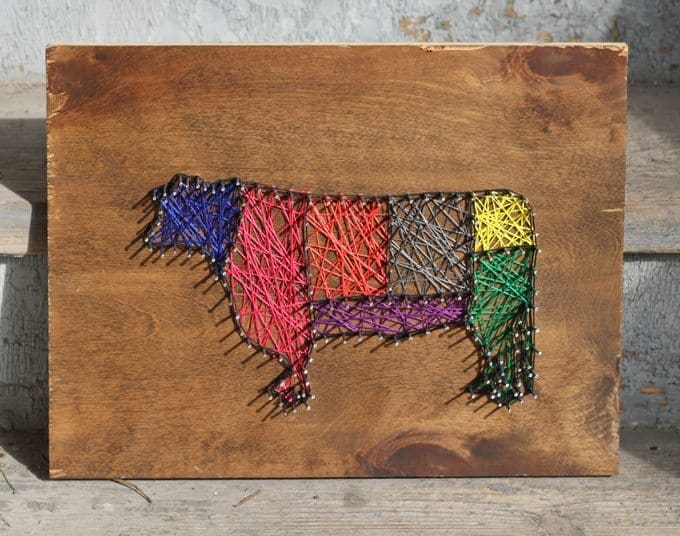
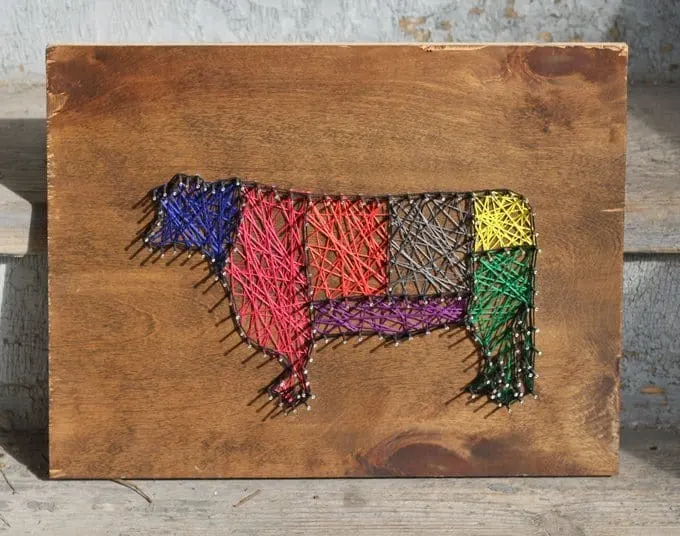
Well, crafting also results in something pretty awesome – in today’s case, some awesome string art for my kitchen!
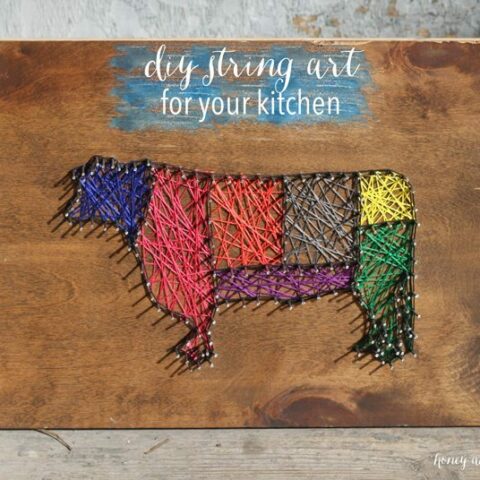
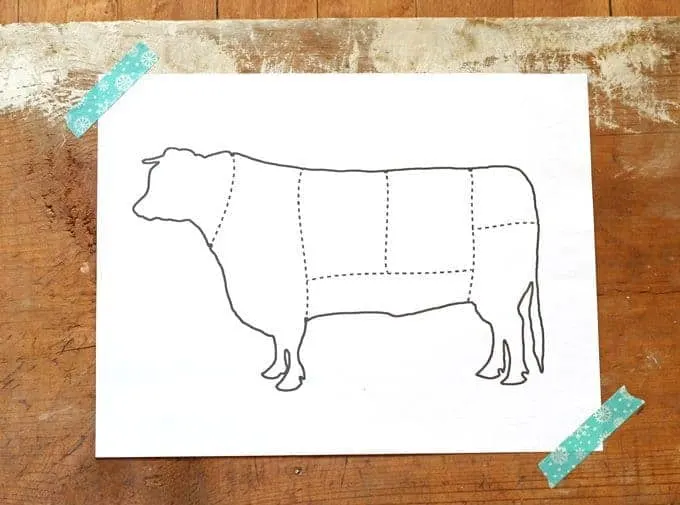
I’ve had a beef cuts print in the kitchen since we moved in – I always thought it was pretty neat but it was the one thing in our house that people always looked past. So when I bought the Butcher and Block typeface (affiliate link) over at Creative Market and found a bunch of different meat cut clip art images (cows! pigs! chickens!) I got excited.

Finally, I found the image I was going to use for my DIY string art project!
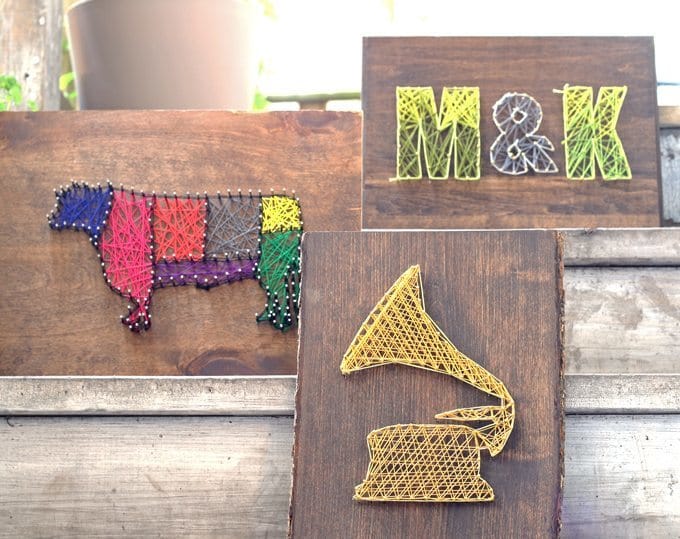
I realized that as long as an image has an outline, you can make DIY string art out of it. This includes all type and images – as long as you can make out the outline, you can string around it. I always thought of string art as hearts or words – but why not do pictures too?
Follow my DIY string art tutorial below to make your own kitchen art (or art for any room!)
DIY String Art Supplies


This post contains some affiliate links for your convenience. Click here to read my full disclosure policy.
- piece of wood
- painter’s tape/washi tape
- nails
- hammer
- string
- scissors
- sandpaper (optional)
- stain (optional)
- old rag (optional)
- ruler/measuring tape (optional)
- tweezers (optional)
Many of the supplies don’t need much explaining, but a few might.
Any wood will work for this kind of project. Scraps are usually what I use, but the wood section of your local craft store will have boards you can use as well. Nails are probably the big question here. Look for nails that are between ½ inch to 1 ¼ inch long, that have a head. The color and finish of the nails are completely up to you.
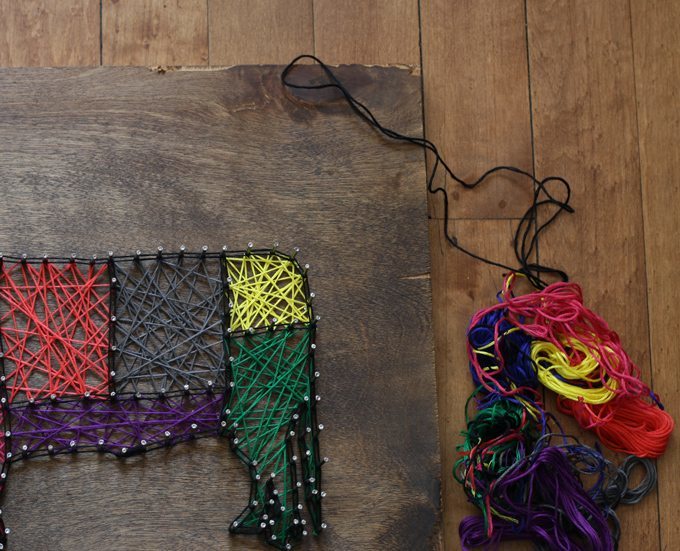
For string, I use embroidery thread. It comes in more colors than you can count and is easy to find. If you need help locating any items, you can check out my Amazon String Art store.
DIY String Art Instructions
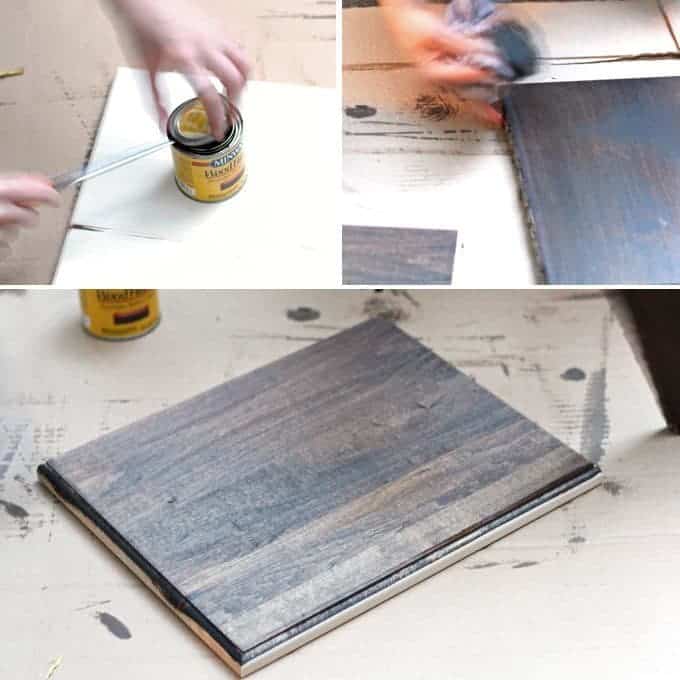
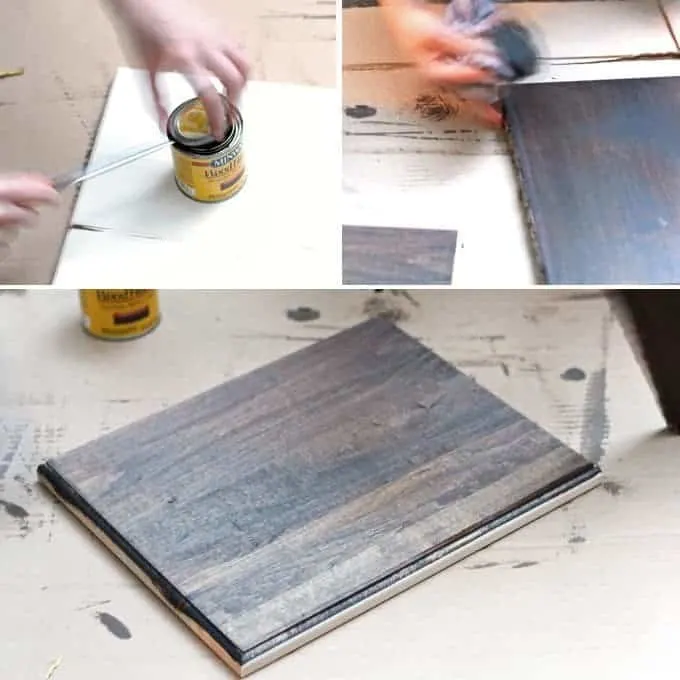
1. Prepare your wood.
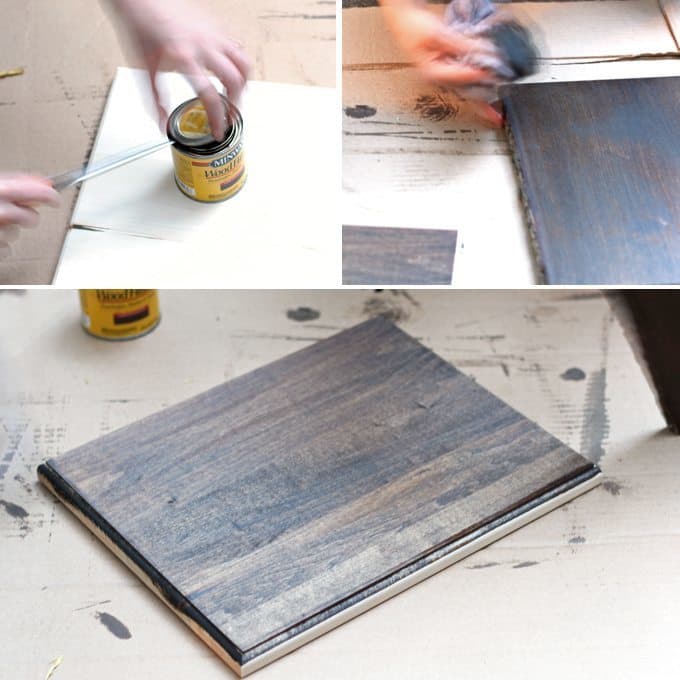

If you are staining your piece of wood, plan to do this at least one day ahead of time. Before staining, sand down any rough parts. Use the rag to apply the stain to the wood.
Repeat until you have the desired color. If you aren’t staining and your wood has rough spots, consider sanding these areas down. Your string may snag on said rough spots.
2. Prepare your design.


You can make string art out of any design you can make an outline out of – if you can print it, you can string it. Print out an image of what you want to string on to paper.
If you are doing a large string installment, print the image on several sheets of paper and cut/tape them together.
Now comes the hard(est) part – decide how far apart you want your nails to be. I like to use my measuring tape and a pen to help me mark on the paper where I will put the nails.
If there are curves, you will need to put nails closer together so that you will be able to see the curves in the string.
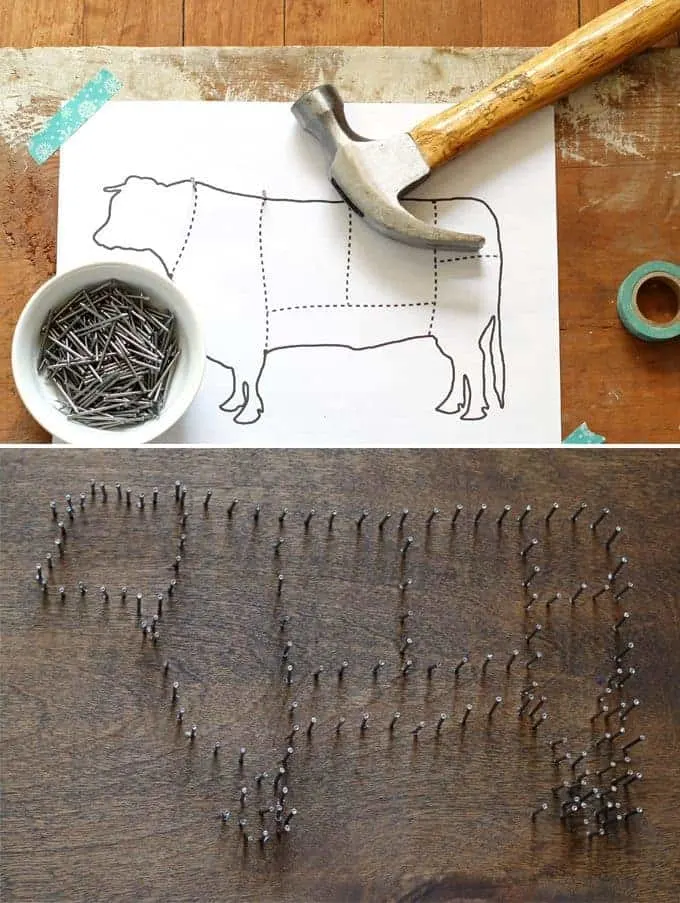
3. Set the Nails


Position and secure your design to your wood board using tape. Using your hammer, nail a nail into each of the marks you made on the paper. You may need to add nails, especially around the curves – use your best judgement here!
Once all of the nails are in the board, remove the paper. Make sure you remove all of the paper pieces – they may stick to the board around the nails. This is where the tweezers come in handy.
(I know the wood is a different color in the above picture – I had to do a little diy deconstruction for the tutorial pictures!)
4. String!
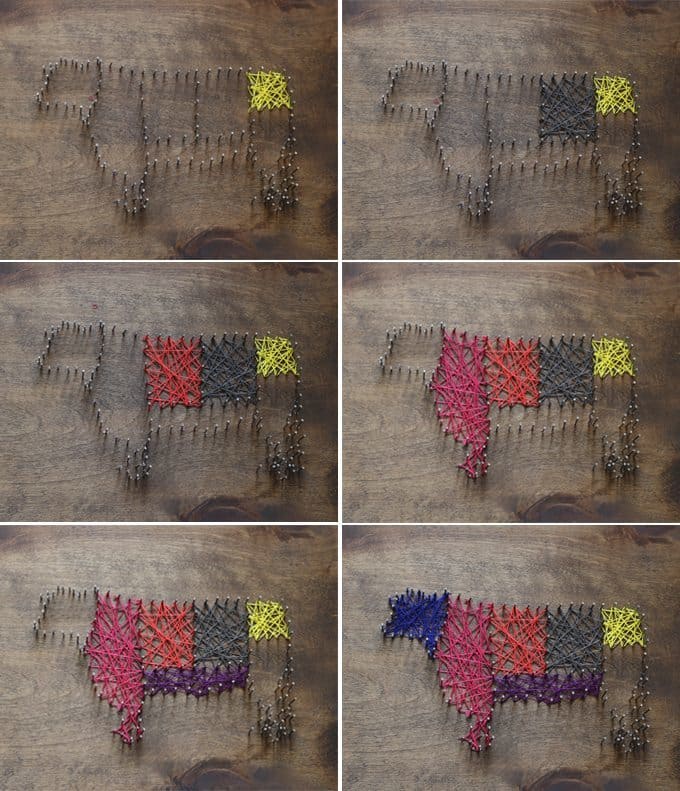
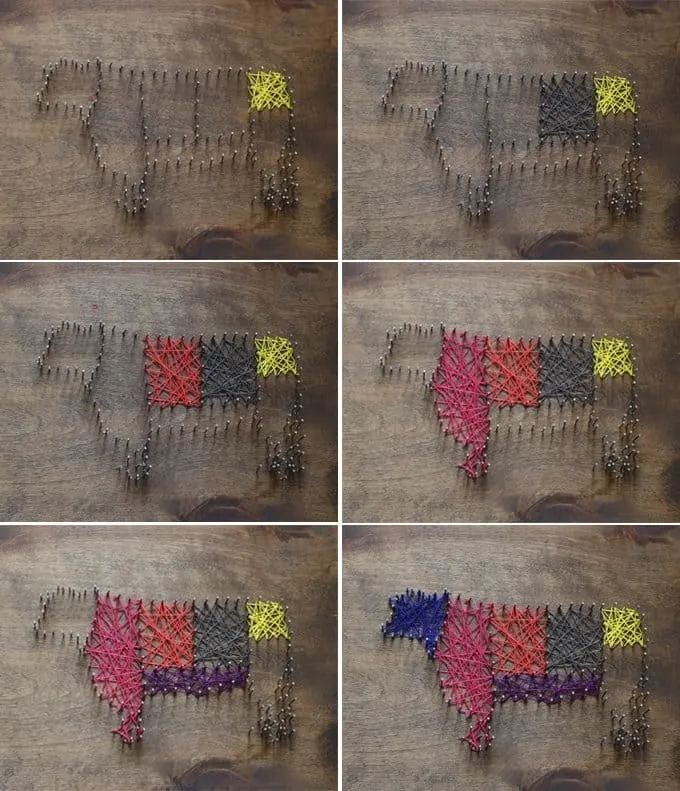
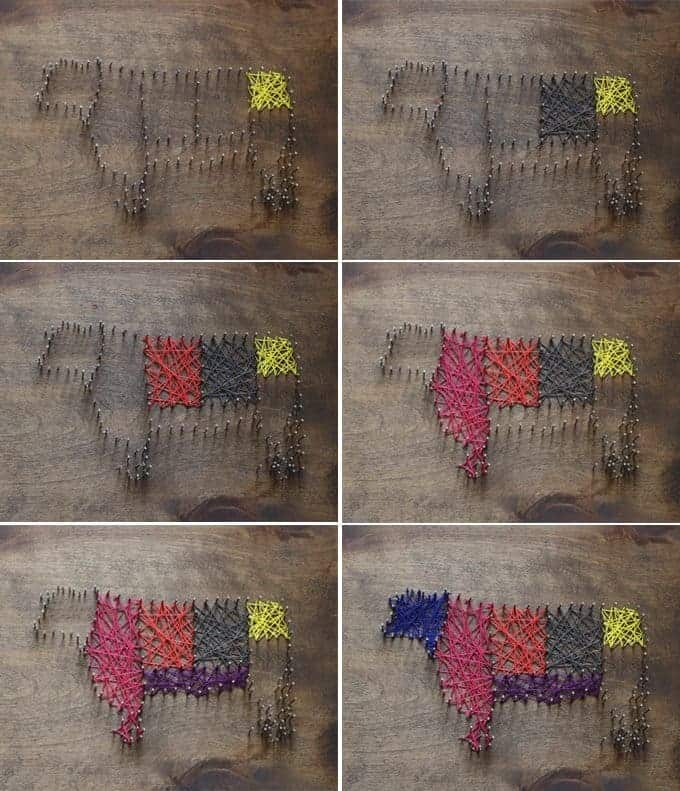
If you are using multiple colors, it may help you to plan out where you want to put them before you start stringing. I did when I made this string art because I was making blocks of color.
To begin stringing, tie one end of the string to a nail and leave the tail long (you will trim it later). Then string away!
Make sure to get string around each nail at least once. You can go haphazardly, or you can string in a pattern. And, if you don’t like the way it looks, un-string and start again.
If you are stringing an intricate design, it will be helpful to have a second print out of the image next to you. Until you get further into stringing, it’s just going to look like a bunch of nails on a board and you may mess up.

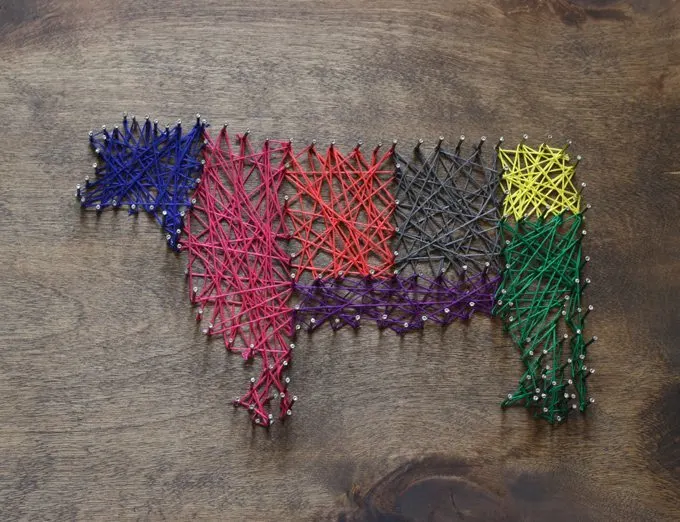
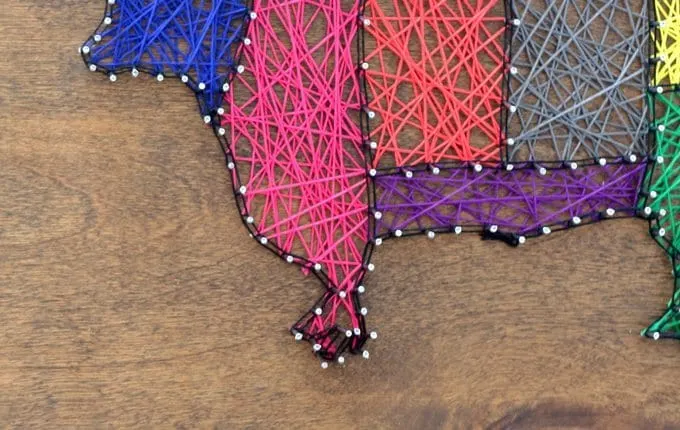
When you are done stringing, tie off the string tight on a nail and cut the string.
I like to make two cuts here – the first one with a tail, and the second one closer to the nail. If you cut too close, use clear glue to fix the knot. I like to finish off my string art with an outline but this is optional.


And that’s it! You have your very own DIY string art. Now you can frame it if you want, hang it if you want, or just leave it on a table.
If you are hanging it, be careful where you put your finished string art on the wall. I am clumsy, so I put it in area where I can’t fall into and hurt myself. I suggest you do the same.

DIY String Art for Your Kitchen!
Follow my DIY string art tutorial to make your own kitchen art (or art for any room!)
Instructions
- Prepare your wood. If you are staining your piece of wood, plan to do this at least one day ahead of time. Before staining, sand down any rough parts. Use the rag to apply the stain to the wood. Repeat until you have the desired color. If you aren’t staining and your wood has rough spots, consider sanding these areas down. Your string may snag on said rough spots.
- Prepare your design. You can make string art out of any design you can make an outline out of – if you can print it, you can string it. Print out an image of what you want to string on to paper. If you are doing a large string installment, print the image on several sheets of paper and cut/tape them together. Now comes the hard(est) part – decide how far apart you want your nails to be. I like to use my measuring tape and a pen to help me mark on the paper where I will put the nails. If there are curves, you will need to put nails closer together so that you will be able to see the curves in the string.

- Set the Nails. Position and secure your design to your wood board using tape. Using your hammer, nail a nail into each of the marks you made on the paper. You may need to add nails, especially around the curves – use your best judgement here! Once all of the nails are in the board, remove the paper. Make sure you remove all of the paper pieces – they may stick to the board around the nails. This is where the tweezers come in handy.

- String! If you are using multiple colors, it may help you to plan out where you want to put them before you start stringing. I did when I made this string art because I was making blocks of color. To begin stringing, tie one end of the string to a nail and leave the tail long (you will trim it later). Then string away! Make sure to get string around each nail at least once. You can go haphazardly, or you can string in a pattern. And, if you don’t like the way it looks, un-string and start again. If you are stringing an intricate design, it will be helpful to have a second print out of the image next to you. Until you get further into stringing, it’s just going to look like a bunch of nails on a board and you may mess up.
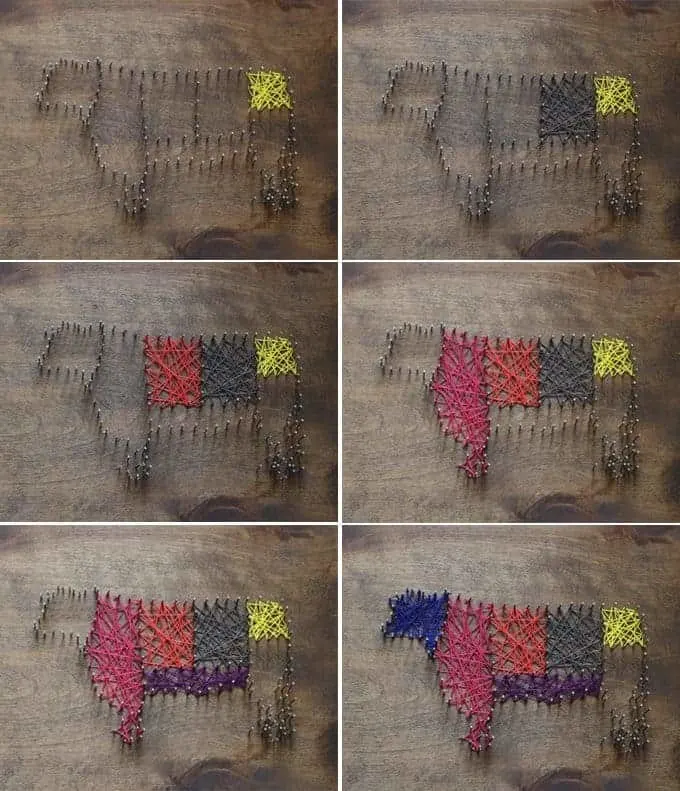
- When you are done stringing, tie off the string tight on a nail and cut the string. I like to make two cuts here – the first one with a tail, and the second one closer to the nail. If you cut too close, use clear glue to fix the knot. I like to finish off my string art with an outline but this is optional.
Recommended Products
As an Amazon Associate and member of other affiliate programs, I earn from qualifying purchases.
-
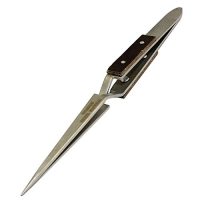
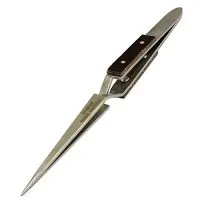 PHYHOO Manufacture Selflock Tweezers -Straight for Jewelry Making Tool,Stainless Steel Repair Tools,165mm Long
 -

 The Perfect Measuring Tape Company - Surveyor's Tape Measure - Rewinding and Compact - Dual Sided - 165' (feet) / 50m (meter)
 -
 2 Pack 12 Inches Clear Plastic Ruler Straight Ruler Plastic Measuring Tool for Student School Office
 -

 3M 9019 General Purpose Sandpaper Sheets, 3-⅔-Inch by 9-Inch, Assorted Grit
 -
 SINGER 00557 4-½-Inch ProSeries Detail Scissors with Nano Tip, Teal
 -

 Premium Rainbow Color Embroidery Floss - Cross Stitch Threads - Friendship Bracelets Floss - Crafts Floss - 140 Skeins Per Pack
 -

 IRWIN Tools 1954889 Fiberglass General Purpose Claw Hammer, 16 oz
 -
 Linwood Small Round Head Nails Multi-Purpose for String Art Pictures Hanging DIY Boxes Accessories (1x6mm/0.04x0.23in, Black)
 -
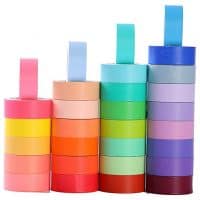
 30 Rolls Washi Masking Tape Set, 15mm Wide Colorful Rainbow Tape, Decorative Writable Craft Tape for DIY Scrapbook Designs
 -
 Scotch Painter's Tape 2090-48E 07230001245 ScotchBlue Painter's Tape, Multi-Use, 1.88-Inch by 60-Yard, 1 Roll, 1.88 inch x 60 yards, Blue
Keisha
Saturday 25th of October 2014
I've never seen anything like this. Looks so cool!
Congrats on being featured on SITS this week! :)
Jenny B
Saturday 25th of October 2014
Thanks Keisha!! It definitely made my day :)
amanda nolan
Friday 24th of October 2014
wow thats a really great idea!
Veronica Lee
Friday 24th of October 2014
Awesome! You did a fantastic job!
Jenny B
Friday 24th of October 2014
Thanks Veronia! :)
RICHARD HICKS
Wednesday 22nd of October 2014
This looks great. I remember doing string art when I was a youngster. So much fun!
Ash
Wednesday 22nd of October 2014
This is a great idea! Super cool, will definitely be trying this sometime soon! :D
Jenny B
Wednesday 22nd of October 2014
Thanks Ash!